A careful bassoon cleaning routine
The boot joint and narrow tenor joint need the right tools.
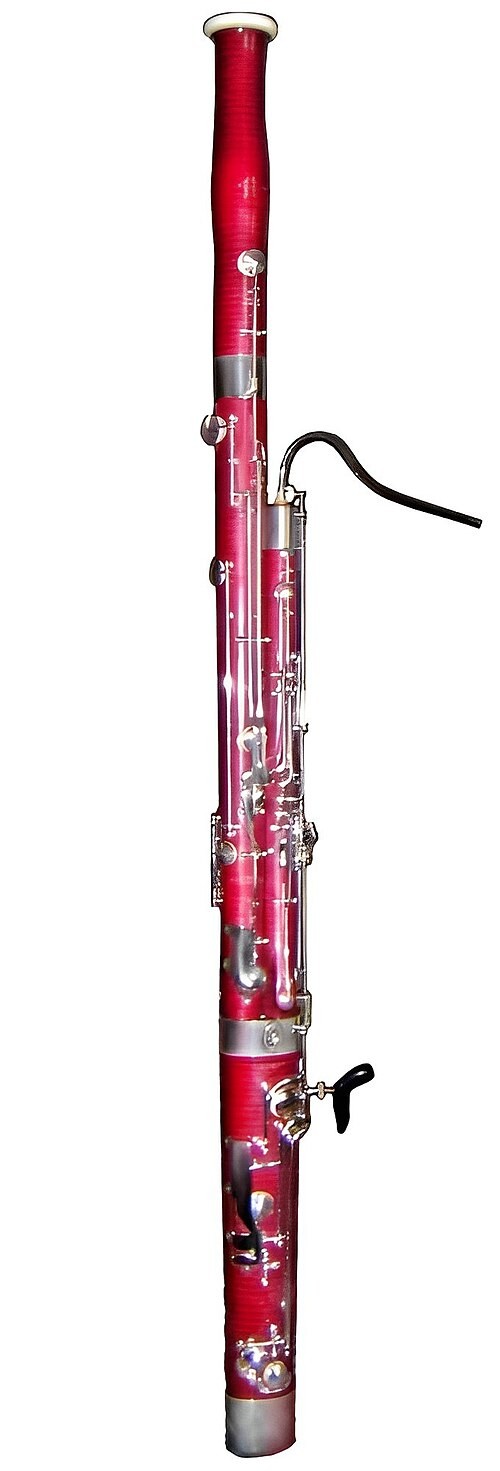
The bassoon has a long air column folded into several joints, along with a bocal and double reed. Comfortable support and the correct cleaning tools matter as much as reaching the right keys.
A good after-playing routine should be simple enough to repeat. The aim is to remove normal moisture or residue, protect vulnerable parts, and notice problems early. Keep scheduled servicing with a qualified technician, and limit home care to routine cleaning.
This guide focuses on a careful bassoon cleaning routine. Work through the checks in order and bring persistent problems to a teacher who plays bassoon. Adapt the routine to your instrument model and your teacher's instructions.
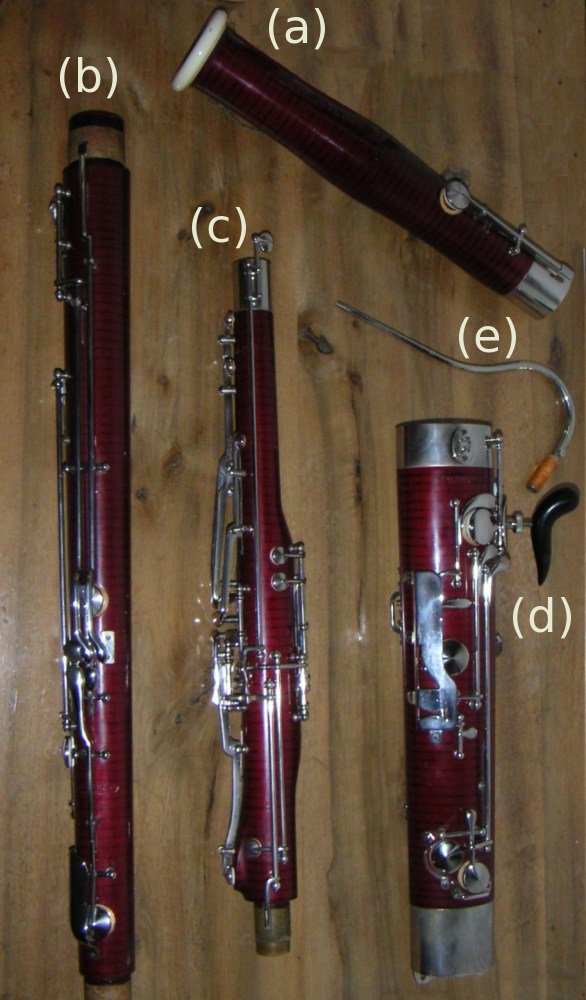
Dry the joints
Remove the reed and bocal, then disassemble as taught. Use bassoon-specific swabs for each suitable joint, following your model’s manual. Do not send a boot-joint swab into the narrow tenor joint.
Clean the bocal separately
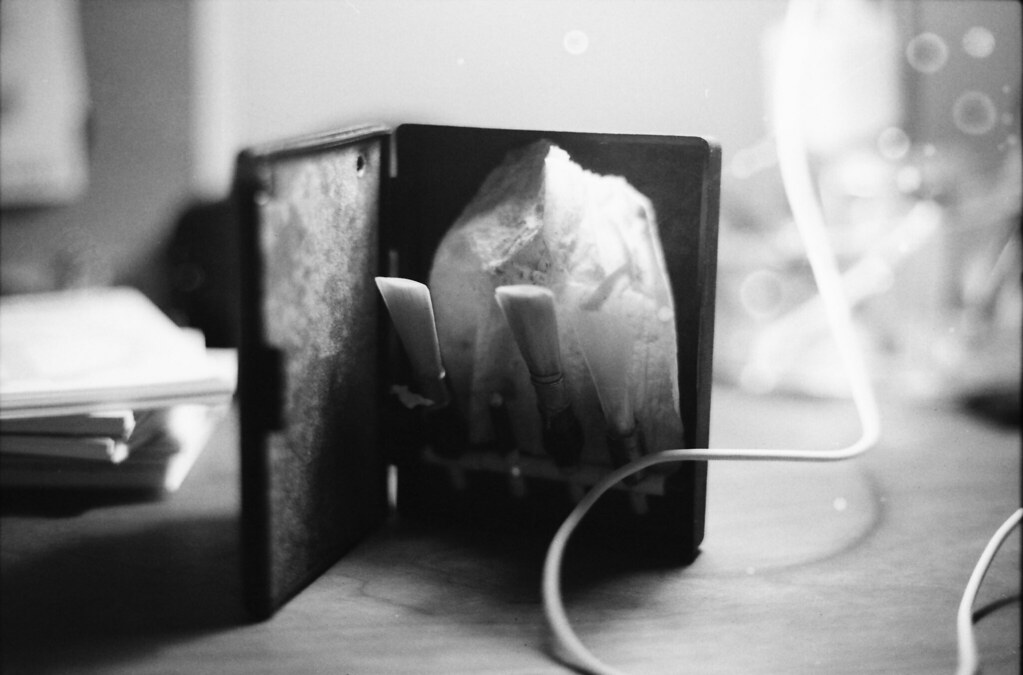
Use the correct bocal cleaner and manufacturer guidance; protect its small vent. Never poke the vent with a metal object. Dry the reed and store it in a ventilated case.
Pack without pressure
Wipe moisture around joints and place parts in their fitted compartments. Let a cold wooden instrument adjust gradually to room temperature. Do not force thread-wrapped joints or grease them automatically.
Keep swabs matched to their joints
Lay out the bassoon cleaning tools separately before disassembling. Identify which swab fits the boot joint and which fits the narrow tenor joint. Follow the instrument manual rather than assuming one cloth fits every passage. Let the tools dry after use and store the reed in its own ventilated holder.
Inspect the support and joints
Before the next session, check that the seat strap or harness is secure and the joints fit as taught. Protect the bocal from bending while handling and packing it. If a joint binds, a key stops returning, or the bocal is damaged, stop and ask your teacher or a bassoon repair specialist.
Your next practice
Keep daily care gentle, use tools approved for your model, and leave uncertain adjustments to someone trained to make them.
Sources & further reading
These manufacturer and educational references support the underlying care or playing principles. The short practice exercises are OpenScores suggestions; the sources do not review or endorse this article.
Was this article helpful?
Report something confusing
No personal details needed. Log in to submit; your feedback goes to the OpenScores admin panel.