Swabbing and storing your oboe
The narrow bore and delicate mechanism deserve a gentle routine.
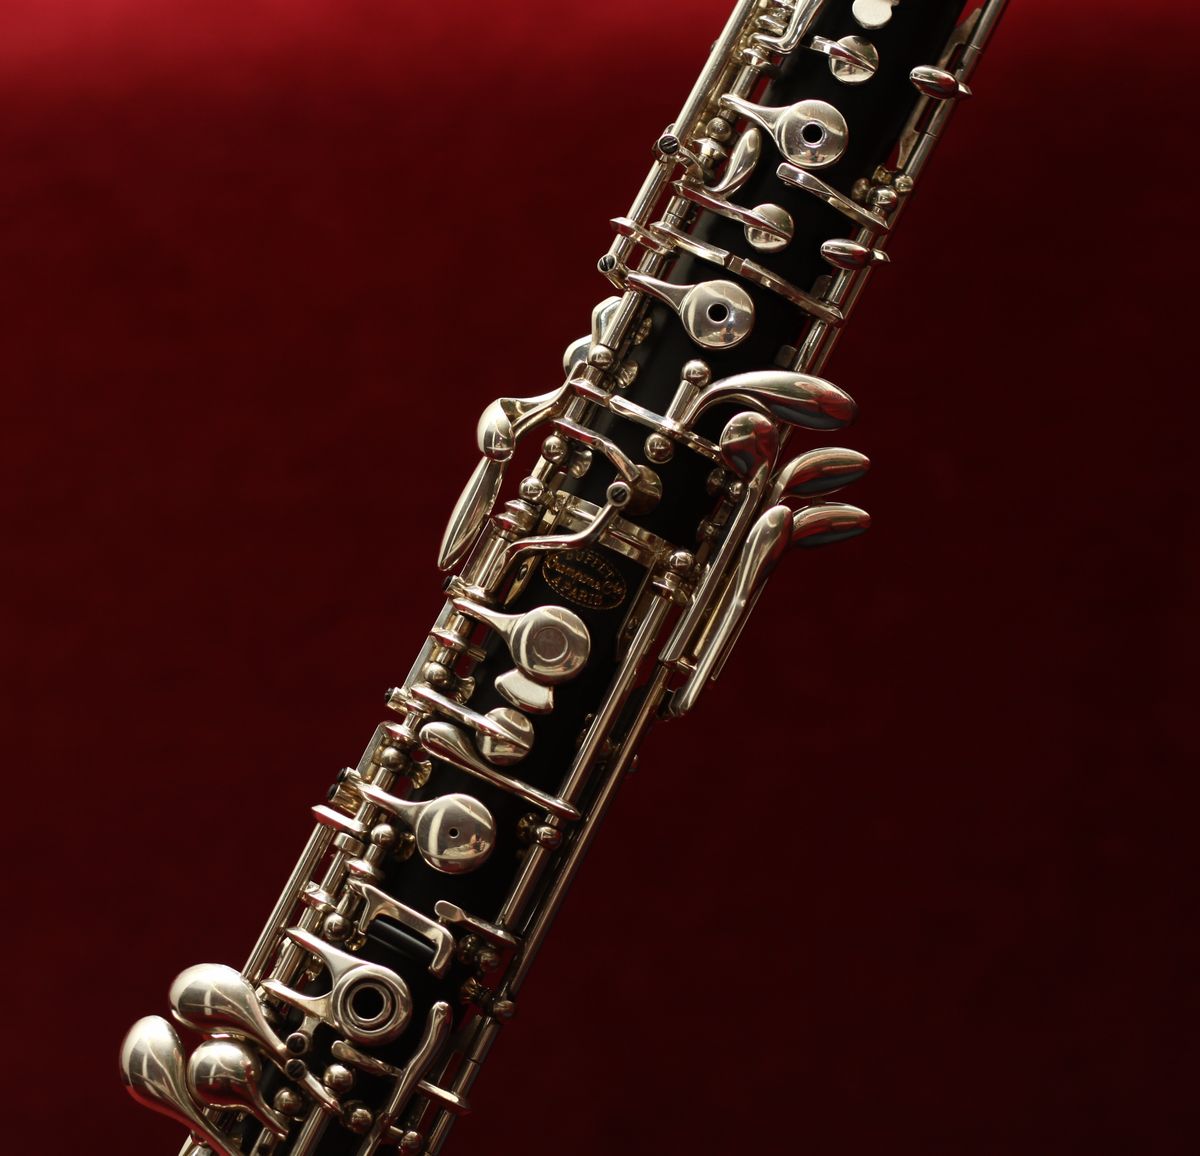
An oboe needs two separate care routines: one for the narrow wooden body and one for its delicate double reed. A swab suitable for another woodwind can catch inside the oboe, and pressure on its linked keys can disturb their adjustment.
Prepare an oboe-specific swab, a clean soft cloth, and a ventilated reed case before playing. Check your model’s instructions for swab direction and joint handling. The steps below cover ordinary after-playing care; they do not require removing keys or turning adjustment screws.
Remove the reed first
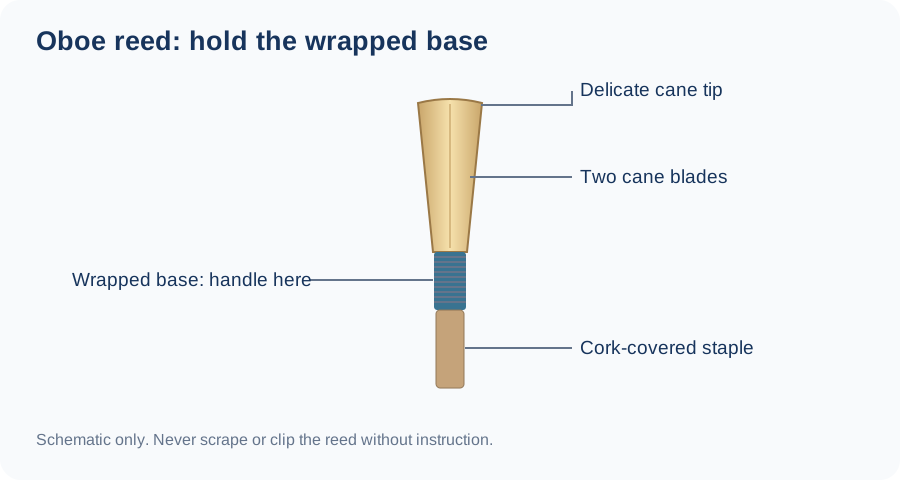
Hold the reed by its wrapped base and remove it gently from the reed socket. Set it somewhere safe while you separate the oboe joints using the grip your teacher demonstrated. Keep pressure off the keys and connecting mechanisms. If a joint resists, stop rather than twisting harder.
Dry the bore with the correct swab
Use an oboe swab approved for your model and follow the specified pull direction. Check that the cloth is not bunched up before it enters the bore. Draw it through gently; never use extra force to pull a caught swab. Ask your teacher or repair technician for help if it will not move.
Protect the reed
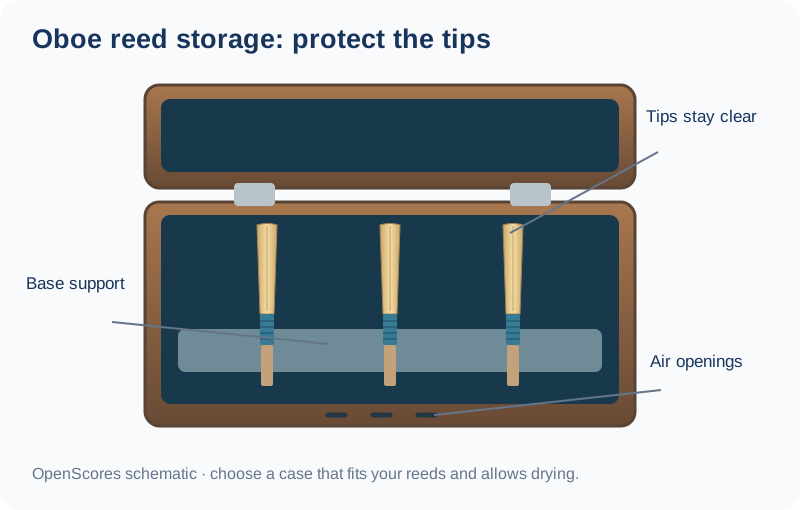
The cane at the tip is thin and easily damaged. Handle the reed by its wrapped base, not by the blades. Remove excess water using your teacher’s method and let the reed dry in a ventilated reed case. Do not leave a wet reed sealed in a small airtight tube or loose in the instrument case where its tip can be knocked.
Wipe the joints and exterior
Use a clean soft cloth to remove moisture around the ends of the joints and gently wipe fingerprints from the outside. Avoid catching the cloth on springs or pressing down on keys. For pads or a sticky mechanism, ask your teacher to demonstrate an approved method rather than inserting improvised tools.
Pack without pressure
Put each joint in its fitted compartment and check that the case closes without pushing against the keywork. Allow the swab to dry outside the instrument compartment. Keep the oboe away from heaters, hot cars, and sudden temperature changes; wood can crack or change shape when conditions change rapidly.
Check before the next rehearsal
Notice whether the joints fit normally and whether keys return freely. A new crack, stuck key, persistent leak, or sudden resistance needs a teacher’s inspection. Describe when the problem started and which notes changed. Do not turn adjustment screws to compensate for it.
Your next practice
Keep daily care gentle, use tools approved for your model, and leave uncertain adjustments to someone trained to make them.
Sources & further reading
These manufacturer and educational references support the underlying care or playing principles. The short practice exercises are OpenScores suggestions; the sources do not review or endorse this article.
Was this article helpful?
Report something confusing
No personal details needed. Log in to submit; your feedback goes to the OpenScores admin panel.